Thursday, December 26, 2013

Engagement Pictures Reveal

So a week and a half ago, I took engagement/save the date pictures for my boyfriend's sister.  (reference the props used in this post)  It was so much fun! It had just snowed, which provided some fun backgrounds for our pictures.  We also had cut wood slices stacked on their property, which was a beautiful background, and we also had some sheds and containers that provided some different backgrounds as well!
Oh and of course, their dog, Duke! Isn't he just the cutest?


Here are some of my favorites from the shoot.


Which are your favorites? Comment below!

Tuesday, December 10, 2013

DIY Deer String Art

It's a winter wonderland here today, looking magical outside.

I figured that it was a perfect day for DIY Christmas present, and I would tackle the string art first.
I had high hopes for this project; I tried it TWICE before and used the wrong wood board, so I was discouraged when I began. Overall, I'm pretty happy with the final product (I would change a few things if I could, but then again, I'm picky)

Here's the step-by-step on how to do it.
First gather supplies.


Picture:  I printed my picture off the computer and enlarged it to see if it would work better bigger (I went with the smaller version)
Wood: I got this board from Michael's for $10 and it is by FAR my favorite wood material I've used for string art
Embroidery Floss: I got lots of colors for $0.30 each at Walmart, and then decided based on what I thought would look best
Nails: I got these from Home Depot, and made sure that they had a flat top.  You can pick whichever size is best for your project, but I used 1"nails.
Hammers: I have two sizes just for the nails that were really close together

And now you're ready to start. Start by fitting your template onto the wood in the place that looks best.  


Then start nailing down the outline.
This part takes a bit...
and a bit longer...


Then rip off the paper.

Next, I put string around the outline, wrapping it once around each nail.

Then I just started filling in the middle, with NO order (hard for this OCD girl). I kept wrapping and ended up with the finished project.


What do you think? Show me yours if you make any :]

Monday, December 9, 2013

Save the Dates/Engagement Pictures

Ok, so I have a horrible Pinterest bug. Like really bad. I'm obsessed with almost EVERYTHING on there.... clothes I can never have, foods I will never make, realities I will never live in. But the worst part is, I CAN'T stop. When I get up, I have to start the day with just a little pinning... "One more pin and then I can stop." Is there a rehab for this? ha.
But, while amidst my pinning addiction, I found a TON of adorable save the dates/engagement pictures. And nope, I'm not engaged, BUT my boyfriends sister is. And she's in need of someone to take pictures. And guess who has a camera! Guess who loves taking pictures! Guess who LOVES taking pictures for people and editing them! Yup, you guessed it... me!
So we finally decided on the date to do it, found some cute ideas, and now we're finally ready to take pictures.
I couldn't help it- I also have a Michael's Craft store addiction too- and I bought a bunch of cute little props for the shoot. Nicole has NO idea of all the cute stuff I found, and I can't WAIT to use them.
The best part is, once we finish the shoot, I plan to quickly edit the pictures and have them ready for Christmas. I ALSO plan to take the props we use and put them into a shadow box for her for a Christmas present (pictures to come).
I cannot WAIT to do this. I hope the expectation is as good as the reality is!
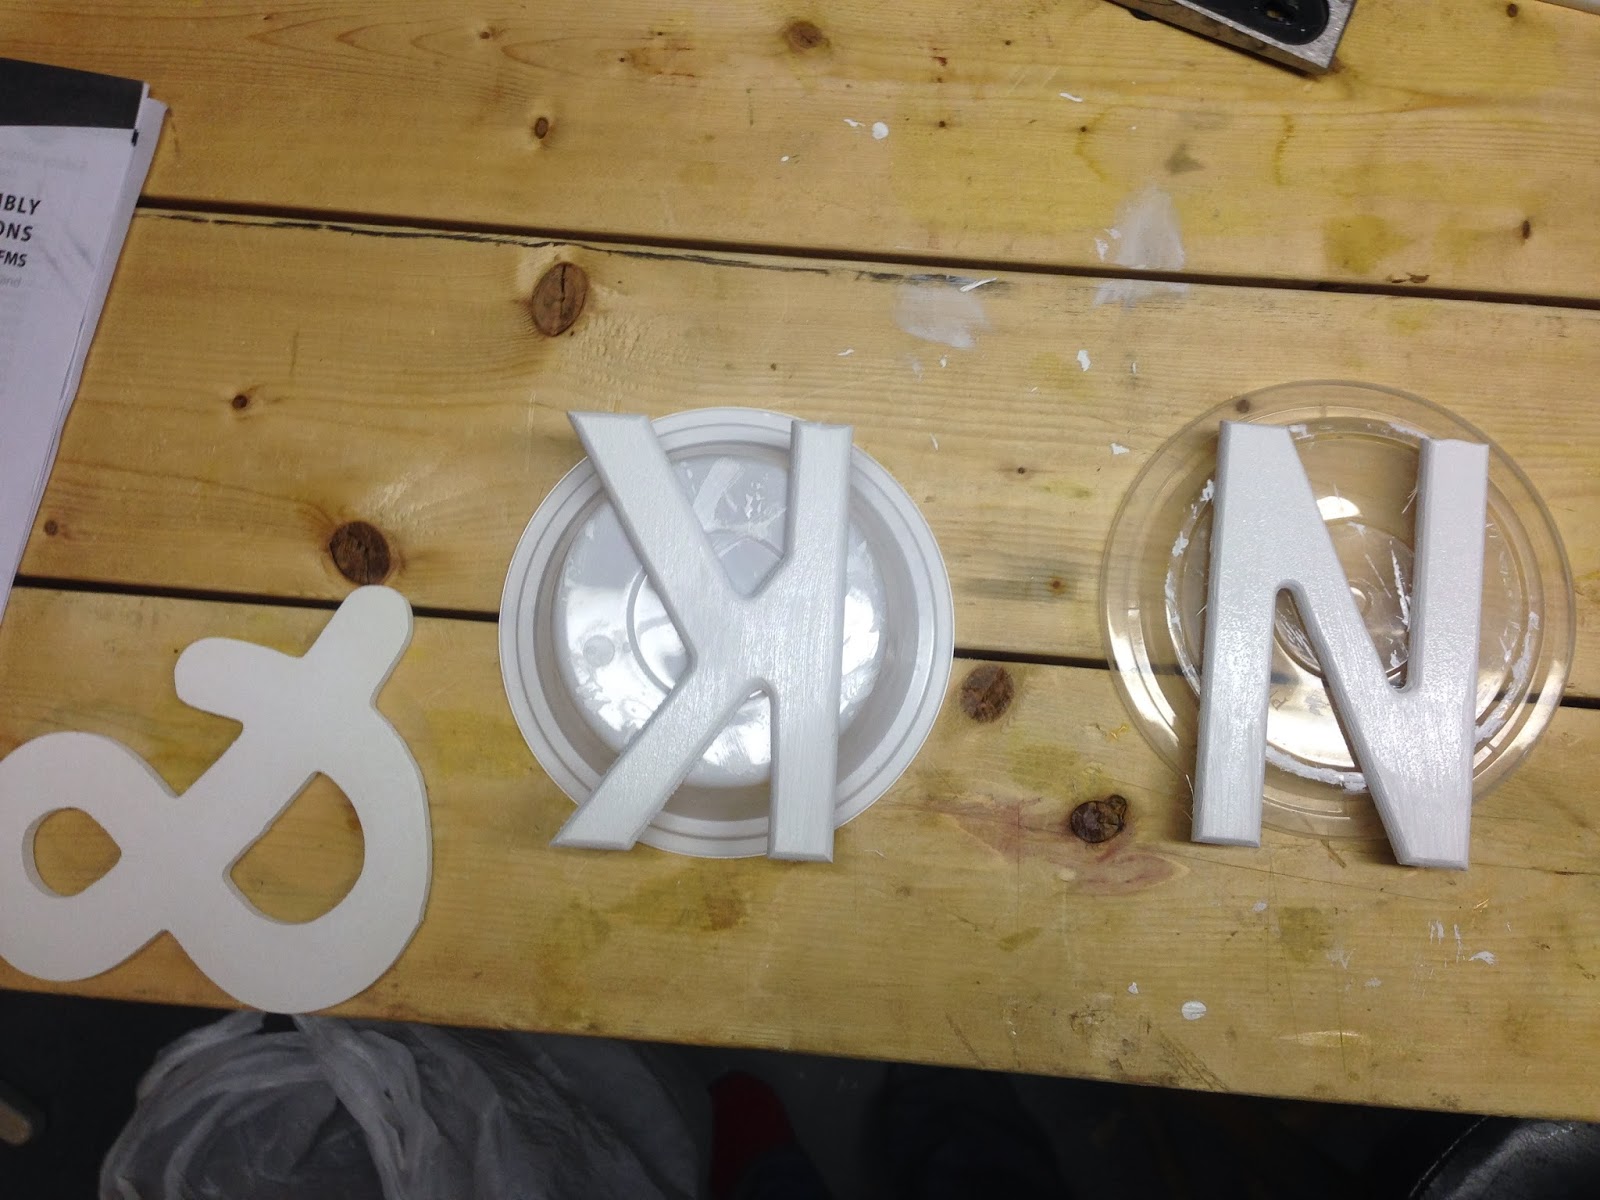
Here are some of the props I have:


and obviously I had to paint them white because it had to match the "&" symbol.


And I also have some others but they'll look better once I have the text on them. I think we're going to use their dog, so I'm going to have one of the signs say "My humans are getting married"and another one will say the date they're getting married. And I also hope to get some scrabble letters so we can write stuff :]
Either way, I'll post pictures once they're taken this Sunday.

Sunday, June 30, 2013

Old Project Revised: Mosaic Table

I always have enjoyed crafts, or crafty things.  When I was a sophmore in college, I was given a table that was my grandmothers. It was a beautiful table, made of mahogany and it had a beautiful glass overlay.

Front of the Table:

I loved that it had belonged to my grandmother, and I wanted to... "make it my own" so I really thought about what I could do to make it unique.  I have always enjoyed "shiny" things *(like most girls I'm sure). I always really liked the iridescent color so I thought I could jazz up my table with something that had that shimmer.
So I thought my best bet was old CDs.  I took a bunch of old ones that I had lying around that had a pretty color on the back. Then one by one, I boiled them in water to make them easier to cut. While they were still hot, I would use a sharp pair of scissors to cut them into smaller peices, of all different shapes and sizes.  

Once I had A LOT of pieces, I put a super small dab of glue in the inlay of the table and put the cd piece on the glue just to hold it. Then I arranged the peices, into a shape I liked and... Behold the finished project.  It took probably a months worth of boiling, cutting, gluing, and arranging in a pattern. Some of the CD pieces would flake a bit, so I'd have to cut more. But overall I was very happy with the result. 

With Flash:


Without Flash:


Eventually I would like to try to get different colored CDs and arrange them into a pretty shape or something, but I need to find a large quantity of them and something to put them on. 
Either way comment any questions you have :]


Tuesday, June 25, 2013

"Little" Assembly Required : Magazine Organizer

Today while I was looking for two very SMALL things at Michael's, I came upon this magazine organizer that was on a super sale ($59.99 for $17.99).  I decided for $17.99 I had to get it, since I could use it at home or in my classroom.  I kept thinking the box was heavy for something so small but when I took the pieces out I realized it was definitely bigger than I anticipated.

I also realized that there were A LOT of pieces. The box claims "little assembly required" which I now know is a lie.  I started putting it together, and after about an hour and a half later. I was finished.


Then I realized that I forgot the two back pieces, so I had to take a side off, slide them in, and re-screw them in.

FINALLY I was finished.


I'm pretty happy with the final project.  I only wonder why the middle section is bigger than the other four compartments, but it is what it is (can you tell?). I followed the screw guides, so I don't think it's user error.
Either way, I'm now ready to load up on some magazines and get myself organized.